
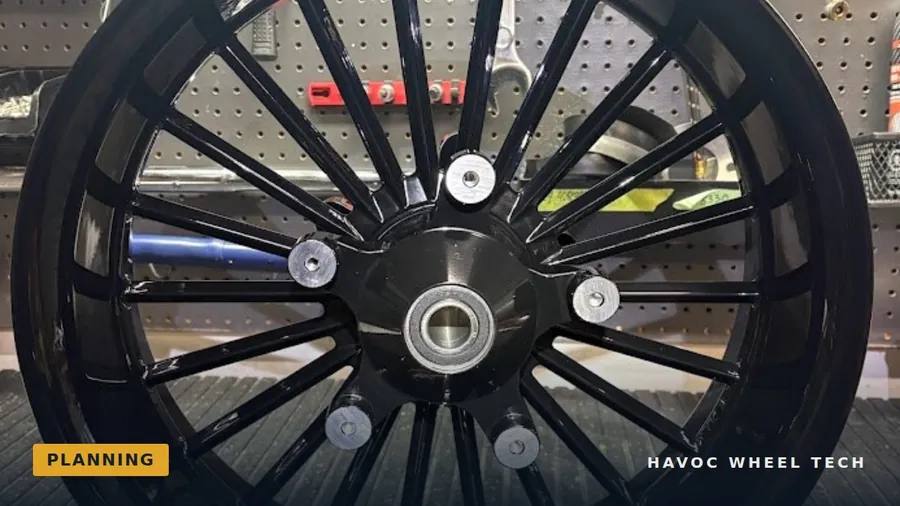
If you are installing a wheel that is not specifically stated as replacement fitment for your bike, the wheel should be dry-fit before a tire is mounted.
There are plenty of reasons a rider might want to install a wheel designed for a different model. Usually it is to fit a wider tire. Sometimes it is because the motorcycle has already been modified — a wider aftermarket swingarm, for example — and nobody knows for certain which wheel will fit it. Will a stock 2008 Rocker wheel, built for a 240mm tire, work in your new wide swingarm? The tire may well clear, but is the offset right? Does the pulley land where the belt needs it?
Careful measurement will get you most of the way to an answer. The only way to be certain is to try it — and the time to try it is before a tire is mounted. That is the dry fit: mounting the bare wheel — no tire — on the motorcycle to confirm that everything lines up before the tire is mounted. It costs almost nothing, takes less than an hour, and prevents most of the expensive mistakes we see.
How to dry-fit a wheel
A dry fit is simple:
- Install the brake rotors on the bare wheel with the bolts finger-tight. Do not apply threadlocker and do not torque. You are checking fit, not assembling.
- On a rear wheel, install the pulley (and any pulley spacer) the same way, finger-tight. Protect the wheel finish while you work — a scratch from a rotor edge is permanent.
- Mount the wheel on the motorcycle with the axle and spacers, in the orientation it will run (see Which Way Does the Wheel Go?).
- Check that the rotors sit centered in the calipers. Look at the gap between the rotor and each brake pad. It should be roughly equal on both sides.
- Spin the wheel by hand. Feel for drag. Listen for any contact between the rotors and calipers, and between the spokes and the back of the calipers.
- On a rear wheel, check belt alignment. The belt should run centered on the rear pulley and in line with the front pulley, without touching anything between them.
- Check that the wheel is centered in the forks or swingarm, and that nothing — fender brackets, fender hardware, calipers — is close to where the tire will be.
If anything does not line up, stop. The correct parts go together smoothly. A wheel that needs force to fit is telling you something, and it is far better to learn it now, with a bare wheel you can still return, than after the tire has been mounted.
Will a wheel from another Harley model fit?
It is one of the questions we hear most often, usually about a good-looking wheel from a different model, or a set on a swap-meet table. A Harley-Davidson wheel looks like a simple part, but it is really a set of dimensions, and every one of them has to match the motorcycle it goes on:
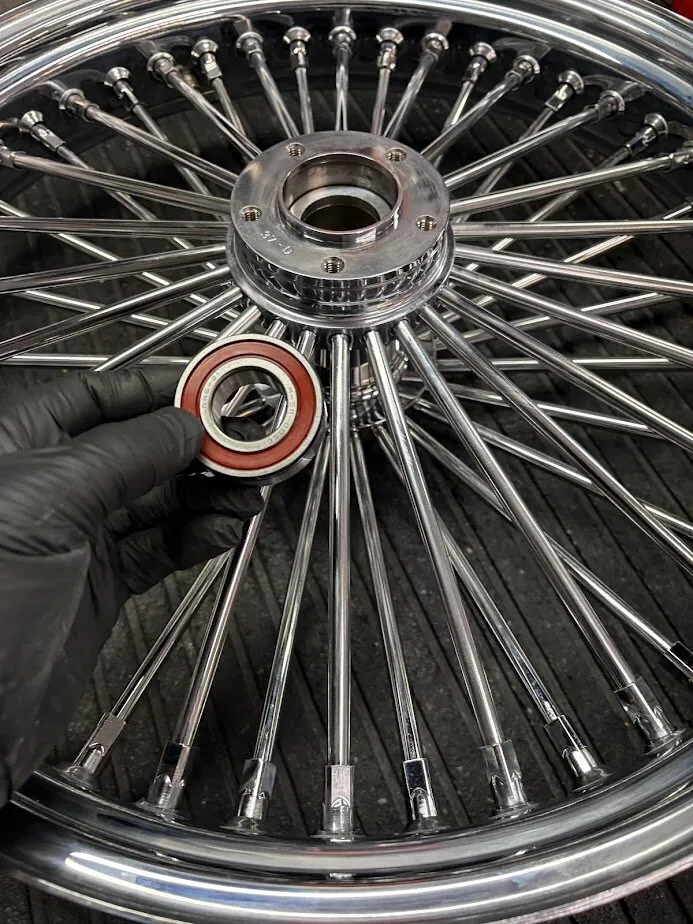
- Axle diameter. Over the years Harley-Davidson has used 3/4-inch, 1-inch and 25mm axles, depending on model and year. The bearing internal diameter has to match the axle application. All Harley sealed roller bearings used after 2000 have a common 52mm outside diameter, so the 1-inch, 3/4-inch, 25mm double-row and 25mm ABS versions can be interchanged. The ABS bearings need a shim kit.
- Hub width and rotor offset. These set where the wheel sits between the fork legs or in the swingarm, and which axle spacers it needs. On front wheels, the brake rotor offset is also important. Two wheels of the same size from different models can sit in quite different places. For instance, a 21x2.15 from an FXST is the same width as a Heritage wheel but it has a different brake offset than the FLST families and is not a bolt-on swap. Similarly, a single disc wheel designed for the FLST has a different brake offset than a Touring bike, so a single disc conversion is not as simple as just fitting a Softail single disc wheel, even though the hub widths are the same.
- Rotor bolt pattern. The rotor mounting face has remained the same for Softails that continue to use a hub-mounted brake rotor. Touring bikes introduce spoke mounted rotors with the Enforcer and Slicer and the 2004-later 320mm rotors which also have a different rotor bolt pattern. That said, Arlen Ness is an excellent source for conversion adapters between hub-mounted rotors and Enforcer and the 2004-later 320mm rotors.
- Pulley offset and mounting. On a rear wheel, the pulley has to line up with the belt. The pulley mounting changed in 2000 (see Rear Pulley Spacers and Belt Alignment), and different models place the pulley differently.
- ABS. On an ABS motorcycle, the wheel needs an ABS bearing on the correct side, matched to the wheel's diameter (see Which Way Does the Wheel Go?).
Some of these differences can be solved with the right spacers, rotors or pulley spacer, and a wheel from another model is often exactly how a rider gets the wider tire they want. Others cannot be solved sensibly at all. The only way to be sure is to identify exactly which model and year the wheel was built for, compare it with your own, and then dry-fit it, as described above. If you are unsure, call us with both models and years before you buy, and we will tell you what we know.
Buying used wheels
A good used wheel can be a sound buy, and the same dry-fit discipline applies, with a few extra checks, because a used wheel comes with a history you cannot see:
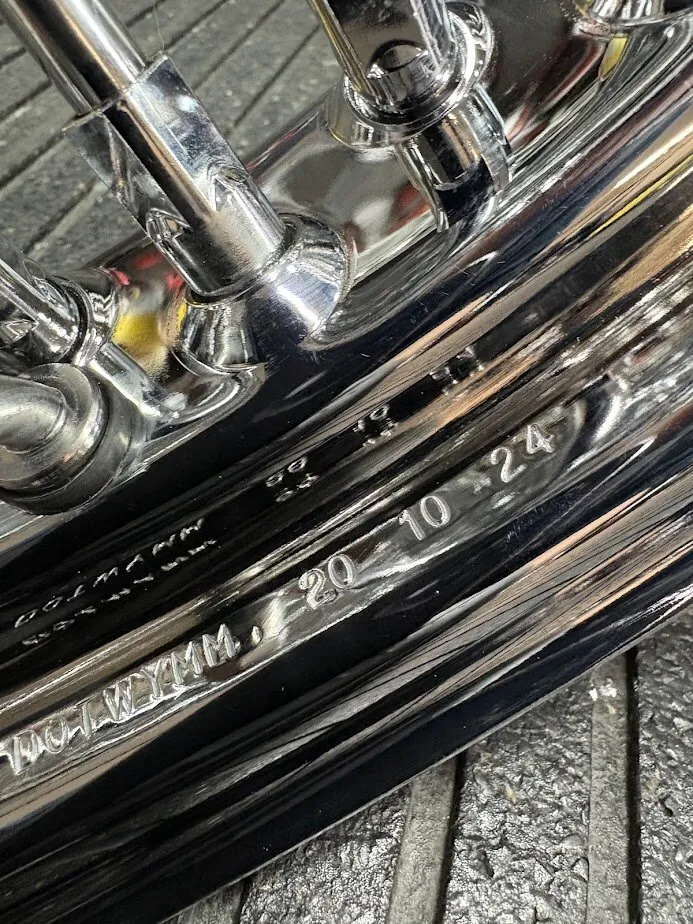
Identify it. Find out which model and year the wheel was made for. Assume nothing from the seller's description.
- Check it for runout. Mount the bare wheel on a truing stand or a straight axle and measure radial and lateral runout at the rim. A wheel that has hit a pothole hard may look perfect and still be bent (see Runout Tolerances: Why Thousandths Matter).
- Inspect it closely. Look for cracks, especially around the spokes, the hub and the bearing bores, and for signs of welding, straightening or refinishing. On a chrome wheel, look for pitting, peeling or rust at the spoke ends and around the rim.
- Check every threaded hole. Rotor and pulley holes that have had the wrong bolts, too much torque or an impact tool can be damaged. Clean them with a thread chaser and confirm that a new bolt threads in freely by hand (see Harley Wheel Fastener Guide).
- Plan on new wear parts. Budget for new bearings, new rotor and pulley hardware and, usually, a new tire. You do not know how the wheel was treated.
- Do not rely on the spacers that came with it. Spacers from another motorcycle may not suit yours. Use the correct spacers for your model, and confirm them in the dry fit.
A used wheel is rarely returnable, so the dry fit is where you find out what else the job needs. It is far better to learn that with a bare wheel on the bench than with a tire mounted and the bike on a lift.
What the dry fit tells you
A good dry fit confirms that the wheel is correct for the bike and tells your installer exactly what else, if anything, the job needs. The most common findings are:
- A caliper needs shimming to center the rotor. This is normal and quick to correct.
- A pulley spacer is needed, or a different one, to bring the belt into line.
- The bolt length needs to change because of a pulley spacer or a different pulley.
- The fender needs attention — a lift bracket or a new fender for a larger wheel.
Setting the pulley position
Once the wheel is in the swingarm, clears the frame and every hard part around it, and the tire looks as though it will clear the fender, chassis and suspension, the next job is to establish where everything sits side to side. Start with the brake. In practice, the rear rotor position is fixed by the caliper and its mounting, so use the axle spacers to position the wheel with the rotor running centered in the caliper. On a wide-tire build, locating the wheel from the brake side can leave the tire slightly off the motorcycle's centerline. That is common and generally acceptable on wide-tire conversions, but check it by eye from behind the bike and make sure the tire's clearance to the swingarm is adequate on both sides. Only once the brake side is set do you turn to the drive side: measure where the pulley needs to be for the belt to run in a straight line from the transmission pulley, and make up the difference with a pulley spacer.
There is nothing inherently wrong with a thick pulley spacer. Spacing a pulley outward by as much as two inches is sound engineering, provided the spacer and bolts are right for the job. The pulley is held to the hub by clamping force, not by the bolts acting as pins. Correctly torqued bolts squeeze pulley, spacer and hub into a single rigid stack, and the drive torque is carried by friction between those faces. A long bolt through a thick spacer does that job as well as a short one; in fact, a longer bolt stretches more at the same torque and holds its preload slightly better. What matters is the detail:
- The spacer must be a single precision-machined piece, never a stack of washers, with flat, parallel faces and a locating register that centers the pulley.
- The bolts must be the right grade and long enough to engage the full usable thread in the hub without bottoming. Measure the complete stack, as described in Pulley Bolts and Aluminum Hubs.
- The bolt grade matters as much as the length. At the specified torque, a pulley bolt carries a very high clamping load, and a long bolt through a thick spacer is no exception. Use high-strength bolts rated for that load. General-purpose hardware-store bolts may stretch permanently at full torque and lose their clamp, even though the torque wrench clicks.
Two further checks complete the job. First, rotate the wheel and confirm the belt clears the tire, swingarm and belt guard all the way around. Second, understand the trade-off: the further outboard the pulley sits, the further the belt pull acts from the drive-side wheel bearing, and the more load that bearing carries. This is not a reason to avoid a thick spacer, but it is a reason to use good-quality bearings and to inspect them at normal service intervals.
Mocking up axle spacers
When a wheel is going into a chassis it was not designed for, a wider swingarm or a different model's frame, the correct axle spacer lengths are rarely obvious. A caliper will tell you a great deal, but measurements only tell you so much. The real answer is where the wheel actually sits when everything is assembled, with everything running true.
That is why we mock up spacers before we make them. Our method is simple and inexpensive: we use plastic electrical conduit from a home-improvement store, in a size that slides over the axle. It cuts easily, so trial and error is quick. Cut a piece to your best measured length, making sure the ends are cut square. A miter box or a lathe makes this easy, and a crooked cut will mislead you. Install the wheel, snug the axle just enough to hold everything in position, and check rotor centering, belt alignment and clearance. Too long or too short? Cut another piece and try again. A few minutes and a few inches of conduit will settle a question that could otherwise cost you a wasted aluminum spacer, or several.
Two cautions. First, plastic compresses, so never torque the axle to specification on mock-up spacers. Snug is enough to check alignment, and a fully torqued plastic spacer will crush and give you a false length. Second, conduit is a measuring tool, nothing more. Never ride on it. Once the lengths are proven, measure the conduit pieces carefully, label them left and right, and have the final spacers machined from aluminum with square, parallel faces, bearing-face diameters that bear on the bearing inner races, and a bore that fits the axle closely. Install the aluminum spacers, torque the axle to specification, and repeat the checks: the wheel should spin freely, the rotor should run centered and the belt should track straight.
Only now: mount the tire
Everything up to this point has been done with a bare wheel, and for good reason. The wheel is in the swingarm and clears the frame and every hard part around it. The rotor is centered in the caliper. The pulley is spaced so the belt runs true. The mock-up spacers have been replaced with machined aluminum ones, the axle is torqued, and the wheel spins freely with nothing touching. Once all of this is done, and *only* once all of this is done, do you mount the tire.
The order matters. Mounting a tire commits the wheel: it can no longer be returned for refund, and every further adjustment means removing a heavy, awkward assembly from the bike. Until then, if the dry fit shows the wheel is wrong for your motorcycle, you can still send it back, and if it shows the spacers are wrong, fixing them costs a few minutes. After the tire is on, the same discoveries cost far more.
With the tire mounted and balanced, reinstall the wheel and do the final checks one last time with the tire in place. Spin the wheel and confirm the tire clears the fender, the swingarm, the belt, the chassis and any suspension components all the way around. Then check the fit with the suspension compressed. A tire that clears at full extension can still touch something at full compression.