
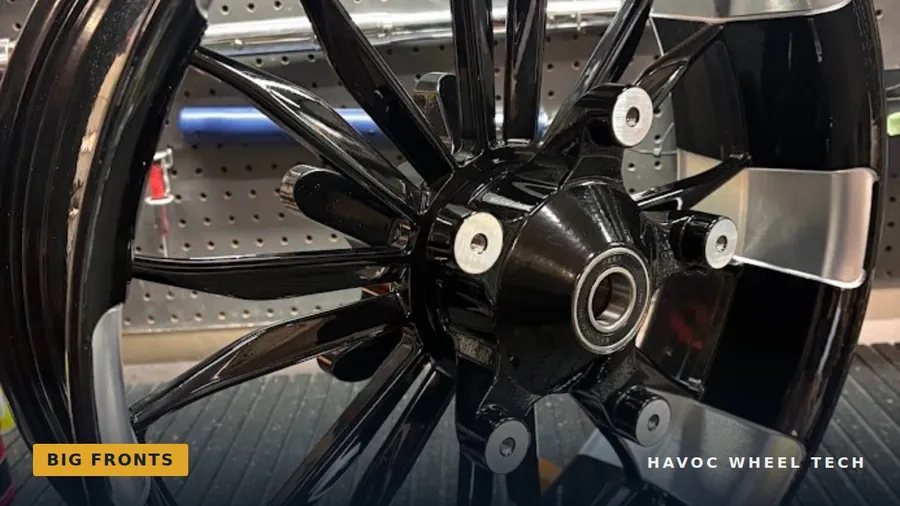
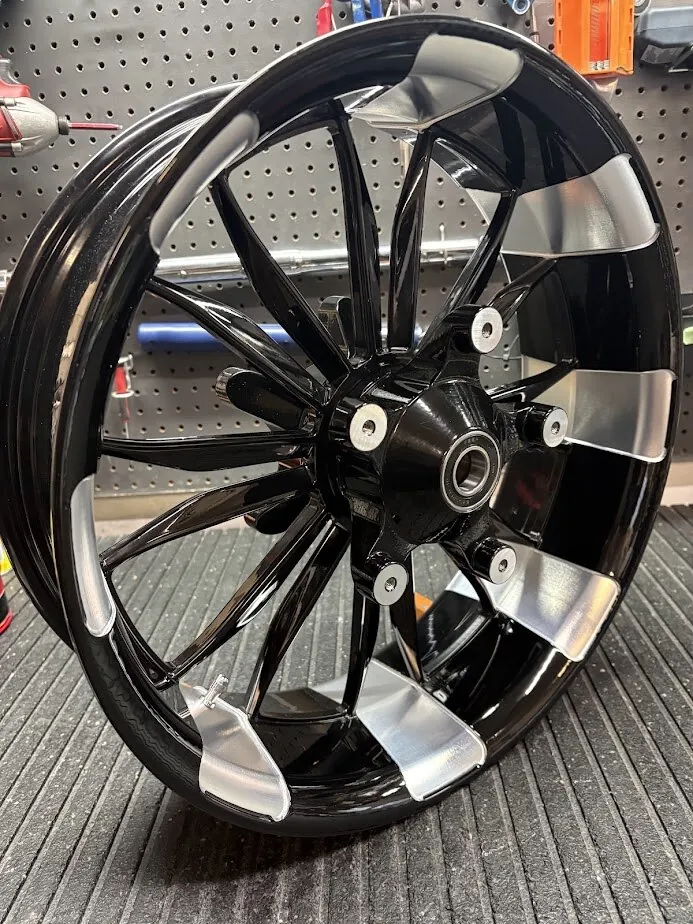
Few custom changes alter the stance of a bagger like a fat front tire. An 18 x 5.5 front wheel with a 180mm tire gives the front of the motorcycle the same muscular footprint as the rear. It is also one of the tightest fitments you will ever install. Clearances between the tire, fork, fender and hardware are measured in fractions of an inch, and the installation rewards patience.
The tire: size limits
Our fat front kits use an 18 x 5.5 wheel. When it comes time to replace the tire, the replacement must not exceed:
- 25.8 inches in overall diameter , and
- 7.25 inches in mounted width on an 18 x 5.5 wheel.
Those limits are what the fork and fender will clear. A number of cruiser and touring tires in 180/55-18 size fall within them, but always check the manufacturer's published mounted dimensions before buying.
Many 180mm tires are designed as rear tires, although front-specific 180/55-18 tires, which mount normally with the arrow pointing forward, are now also available. When a rear tire is used on the front, it is mounted backwards, with the rotation arrow pointing toward the back of the motorcycle, so that its construction carries braking forces correctly. On an ABS motorcycle, there is only one orientation for the wheel — with the ABS bearing on the left — so the arrow will point toward the back. On a non-ABS motorcycle, there are two possible orientations: be sure the arrow points toward the back. A bi-directional tire marked F and R is mounted following the F arrow. (See Which Way Does the Wheel Go?)
The wheel is tubeless and is supplied with the tire mounted without a tube and balanced internally with balancing beads, so you will not see any external weights.
Fork clearance: 41mm versus 49mm
Tire-to-fork clearance is the first thing to check. On 2013-and-earlier Touring models, the 41mm fork tubes leave more room across the axle than on 2014-and-newer models with 49mm fork tubes.
The shoulder of a tire — where the tread meets the sidewall — can be very slightly out of round from the molding process. Spin the tire by hand and watch for any high spot that comes close to the fork legs or the fender. The tire must spin freely with no contact anywhere. This check is especially important on 2014-and-newer bikes, and it must include the fender mounting hardware on the inside of the fork legs (see below).
Rotor and caliper clearance
Check the clearance between the rotors and the brake calipers. On some floating rotors, the floater buttons can just touch the caliper body. A small rotary tool will provide the clearance needed. Then check the caliper alignment on both sides, and shim as necessary, as you would with any new wheel (see Centering Your Brake Calipers).
Be very careful installing the brake rotors on the wheel. It is easy to scratch the wheel finish with the edge of a rotor, and a scratch cannot be undone.
The fender
Always test-fit the fender before it is painted. Our fat front fenders are of very high quality, but tolerances at this scale are tight, and you want to confirm two things before a single coat of paint goes on:
- The fender sits square between the fork legs.
- The tire does not contact the fender anywhere.
Install the upper fork covers (1999–2013) or the upper fork covers and wiper seals (2014 and later) before you install the fender. The fork covers in our kit are cut away to provide clearance for the wider fender, so use the ones supplied. Put masking tape on any part of the fork that could contact the fender during installation. Clearances are very tight.
Installing the fender on 2013-and-earlier motorcycles
On these models, the fender has to be slid up from the bottom of the fork legs. It is a two-person job:
- Rotate the fork legs 180 degrees so the fender mounts face outward.
- Drape a single layer of soft cloth, such as a t-shirt, over the center of the fender where it will pass the fork legs.
- Apply a few drops of blue threadlocker to the fender mounting bolts so they are ready to install.
- Slide the fender up past the fender mounts. While one person holds it there, the other rotates the fork legs back so the fender mounts face each other.
- Lower the fender to line up with the mounting holes, remove the cloth and install the bolts.
Installing the fender on 2014-and-newer motorcycles
On these models, it is much easier to work with one fork leg off the motorcycle. You will need to remove both legs to install the fork covers in any case.
- Install one fork leg.
- Fasten one side of the fender to that leg.
- Slide the second fork leg up into place, taking care not to scratch anything on the way. Masking tape helps.
- Fasten the second side of the fender.
Fender hardware on 2014-and-newer models
On 2014-and-newer motorcycles, there may not be enough clearance between the fender mounting hardware on the inside of the fork leg and the tire if you use the stock fender hardware. There are two solutions.
Using the stock hardware. If you use the stock hardware, you must fit a lower-profile nut on the inside — for example, a stainless jam nut with a nylon locking insert. Do not let the bolt protrude past the nut, which would defeat the purpose. Mock the assembly up on the motorcycle, mark the bolt at the nut with a marker, then remove it and cut it to length.
Using the kit hardware (preferred). A better approach is to reverse the fastener: a hex-cap bolt on the inside, where its low head clears the tire, and the nut on the outside where there is room. We supply four 5/16-18 x 1-1/2 inch stainless hex-cap bolts, with acorn nuts and washers, and four 5/16 nylon-insert lock nuts if you prefer those. Fork castings and fenders vary slightly in thickness. The variation is small, but it can be enough to stop an acorn nut from snugging down fully, so check that each acorn nut is tight against its washer and that the bolt has not bottomed inside the nut. If it has, use a thicker washer. With acorn nuts, use a medium-strength (blue) threadlocker.
We supply the acorn nuts because they look best.
Suspension
Any front suspension internals can be used with the fat front kit, as can lowering kits. With the fork fully compressed, the kit provides adequate clearance between the fender and the fork slider covers.
Fairing lowering blocks
A Road Glide looks good with a fat front. It looks spectacular with a fairing lowering kit, which drops the frame-mounted fairing closer to the tire. If you fit one, we strongly recommend the complete kit, including its support bar. We do not recommend using a lowering block without the support bar. The fairing is heavy, and it is subjected to wind load and vibration at speed; the support bar is what keeps the lowered fairing properly braced.