
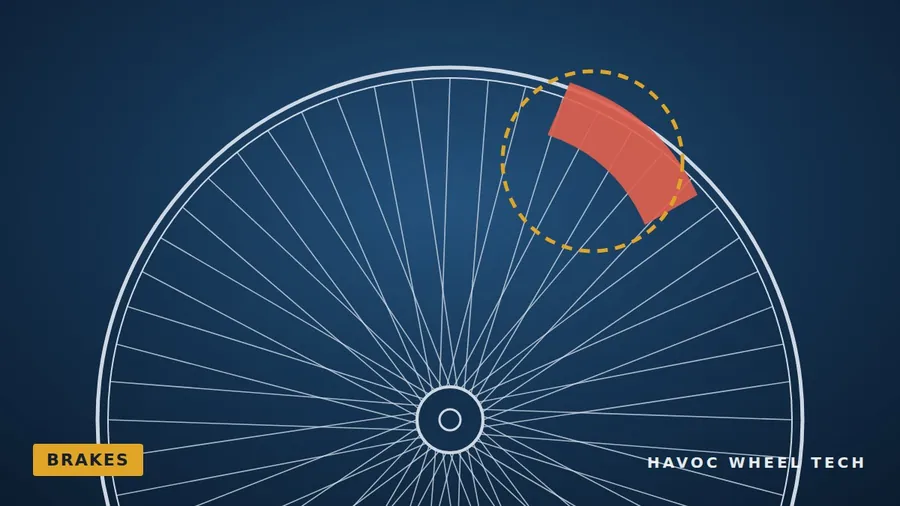
Centering the caliper over the rotor is one kind of clearance. There is another kind, which has nothing to do with braking performance and everything to do with making sure nothing touches that should not: the clearance between the caliper body and the parts of the wheel that pass close to it. On certain combinations of motorcycle and wheel, it can be very tight.
2018 and newer Softails: caliper to spoke
In 2018, Harley-Davidson introduced an all-new Softail chassis, and with it a different, thicker front brake caliper. On many bikes this caliper is shimmed at the factory, and in that case it clears our Fat Spoke wheels without any issue. On others it is not shimmed, and the back of the caliper body can come very close to the spokes — close enough that the spokes just touch the back of the caliper as the wheel turns.
The contact, when it happens, is minimal: a slight touch, not a collision. It is also easy to find and easy to correct. After installation:
- Spin the front wheel slowly by hand and watch the gap between the spokes and the back of the caliper all the way around.
- Listen for a light tick as each spoke passes.
- If there is contact, check first whether the caliper is correctly shimmed and centered on the rotor (see Centering Your Brake Calipers). Correct shimming may be all that is needed.
- If the caliper is centered and there is still contact, the back of the caliper body can be filed very slightly at the point of contact, then touched up with black paint to protect the surface.
The amount removed is only a whisker — just enough to provide running clearance. The filing is confined to the outside of the caliper casting, away from the pistons, seals and pad pocket, and does not affect the caliper’s function. If you are not confident performing this work, you can also use a thinner brake caliper, such as the Hawg Halters 6-piston differential-bore caliper, which also provides excellent braking performance.
Floating rotor buttons
A floating rotor is built in two parts: an inner carrier that bolts to the hub and an outer braking ring, joined by a ring of rivet-like buttons that allow the braking surface to expand with heat without warping. Those buttons stand slightly proud of the rotor surface.
On some combinations of wheel, rotor and caliper, the floating buttons can pass very close to the edge of the caliper body and lightly contact it as the wheel rotates. If this occurs, first confirm that the caliper is correctly centered over the rotor. If the caliper is properly aligned and the buttons still make contact, the edge of the caliper casting at the point of contact can be lightly relieved with a small rotary tool, removing only the material necessary to provide running clearance.
The relief should be confined to the exterior of the casting and should not extend into the piston bores, seals, pad pocket or other functional areas of the caliper. Afterward, spin the wheel by hand and confirm that the rotor buttons pass the caliper freely with no contact anywhere.
The final check, every time
Whatever wheel, rotor and caliper combination is on your motorcycle, the last step before the tire goes on — and again after it does — is the same. Spin each wheel by hand. It should turn smoothly and freely, with no contact between the caliper and the rotor, its buttons or the spokes, and no drag from the pads. If you can hear it or feel it, find it before you ride.