
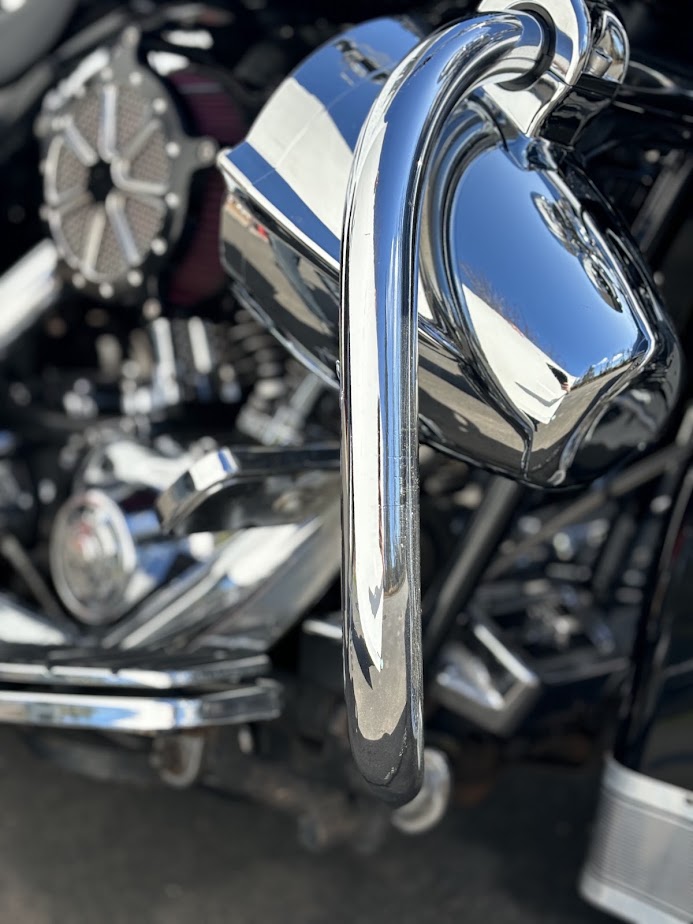
Please read the complete instructions before you begin.
Determine Left and Right Pods
There is a Left and a Right pod, which you can easily determine by keeping the hole for the wires closest to the bike for a clean installation.
Also, the Left pod harness has white and black speaker wire, while the Right pod has a gray and black speaker wire.
Mounting the Pods
These speaker pods are precision-machined to fit 1.5" aftermarket bars natively. If you are mounting these to OEM Harley bars (1.25"), please use the provided Billet Shims.
The "Buddy System": This is a two-person job. Have a friend hold the pod and the shims in perfect alignment while you focus on the hardware.
Protection: The billet pod kit comes with 1mm silicone strips. Use them. They prevent the pods from rotating and stop the metal-on-metal contact that can scratch your bar's finish.
Note: When using the 1.25” Billet Shims, place the 1mm silicone strip between the shim and the highway bar for maximum grip and finish protection.
Seating the Shims: Ensure the shims are seated flush against the bar. If they are cocked at an angle, the clamp won't apply even pressure, and the pod will eventually vibrate loose.
"Dry Fit" & Positioning
Placement: Sit on the bike in your normal riding position. You want the pods angled upward toward your head, not your knees.
Clearance: Turn the handlebars to full lock (left and right) to ensure the front fender or controls don't hit the pods.
When tightening the bolts on the billet clamps, tighten them in an alternating-pattern to ensure the pressure is even. Tighten the bolts evenly, jumping back and forth between them so the gap between the clamp halves remains equal on both sides.
Loctite is King: Use Blue (Medium) Loctite on the mounting bolts. Between the engine vibration and the wind resistance, those bolts will try to back out otherwise.
Torque-Down
The Feel: Recommended torque for the clamps is 12 ft-lbs. You want them "Harley tight"—snug enough that the pod cannot be rotated by hand, but do not over-tighten or you can strip the threads.
Re-Torque: Stainless steel is "stretchy" and billet aluminum can compress slightly. Check these bolts again after your first 50–100 miles. The vibration of a Harley is notorious for finding that one bolt you thought was tight.
Wire Management
For the cleanest wiring, route the speaker wires across the highway bar, up the neck, and back underneath the fuel tank to the amplifier in the saddlebag. Ensure the wire isn't being pinched anywhere. Cable tie the speaker wires to the side of the highway bar to keep them secure.
For HS.113 Speakers with RGB Illumination. Connect the supplied RGB Lead to the speaker and route this the same way under the tank to the RGB controller under your seat (see separate instructions for the RGB Controller).
Drip Loop: Leave a tiny bit of slack (a "drip loop") right where the wire exits the pod. This prevents rain from running down the wire and straight into the speaker internals.
Pro Tip: Once your pods are installed, it is a good idea to put a small dab of silicone around the wires exiting the rubber grommet. This ensures a 100% waterproof installation.
Connecting Speaker Wire to the Amplifier
If you purchased your speakers as part of a Havoc Roar Kit, the leads are terminated with Deutsch DTM waterproof connectors that mate with the connectors on the head unit and amplifier. Simply note left and right, and plug them in. You're done.
Once the pods are mounted and the wires are pulled to the bag, it’s time to connect to the amplifier.
The connector uses simple male/female spade connectors. Just align and push together.
Do not force. If anything is tight, wiggle back and forth until they slip together. (If ever you have to remove your saddlebag for maintenance of the bike, simply wiggle the connectors apart, taking care not to pull the wire out of the connector, and pull them back through the grommet in the saddlebag. These same connectors can be re-used many times, as long as they make a tight connection.)
Because your wire harness uses a Solid Black wire for the negative side (instead of a stripe), follow this exact mapping:
| Amp Harness (Output) | Your Pigtail / Pod Wire | Polarity |
|---|---|---|
| White | White | Positive (+) |
| White / Black Stripe | Solid Black (paired with White) | Negative (-) |
Positive (+): Connect the White amp wire to the White speakerl wire.
Negative (-): Connect the White with Black Stripe amp wire to the Solid Black pigtail wire (the one paired with the white).
| Amp Harness (Output) | Your Pigtail / Pod Wire | Polarity |
|---|---|---|
| Gray | Gray | Positive (+) |
| Gray / Black Stripe | Solid Black (paired with Gray) | Negative (-) |
Positive (+): Connect the Gray amp wire to the Gray pigtail wire.
Negative (-): Connect the Gray with Black Stripe amp wire to the Solid Black pigtail wire (the one paired with the gray).
Shielding: Ensure the protective insulating boots are pulled fully over the metal connectors to prevent any contact with the amp or other wiring.
PARTS INCLUDED:
- 2 x Billet Pods with Clamps, Loaded with 6.5” Speakers
- 4 x 1 mm Silicone Gaskets (for highway bar finish protection)
- 4 x Billet Shims for 1.25” Highway Bars
- 2 x 6” UV Resistant Cable Tie