
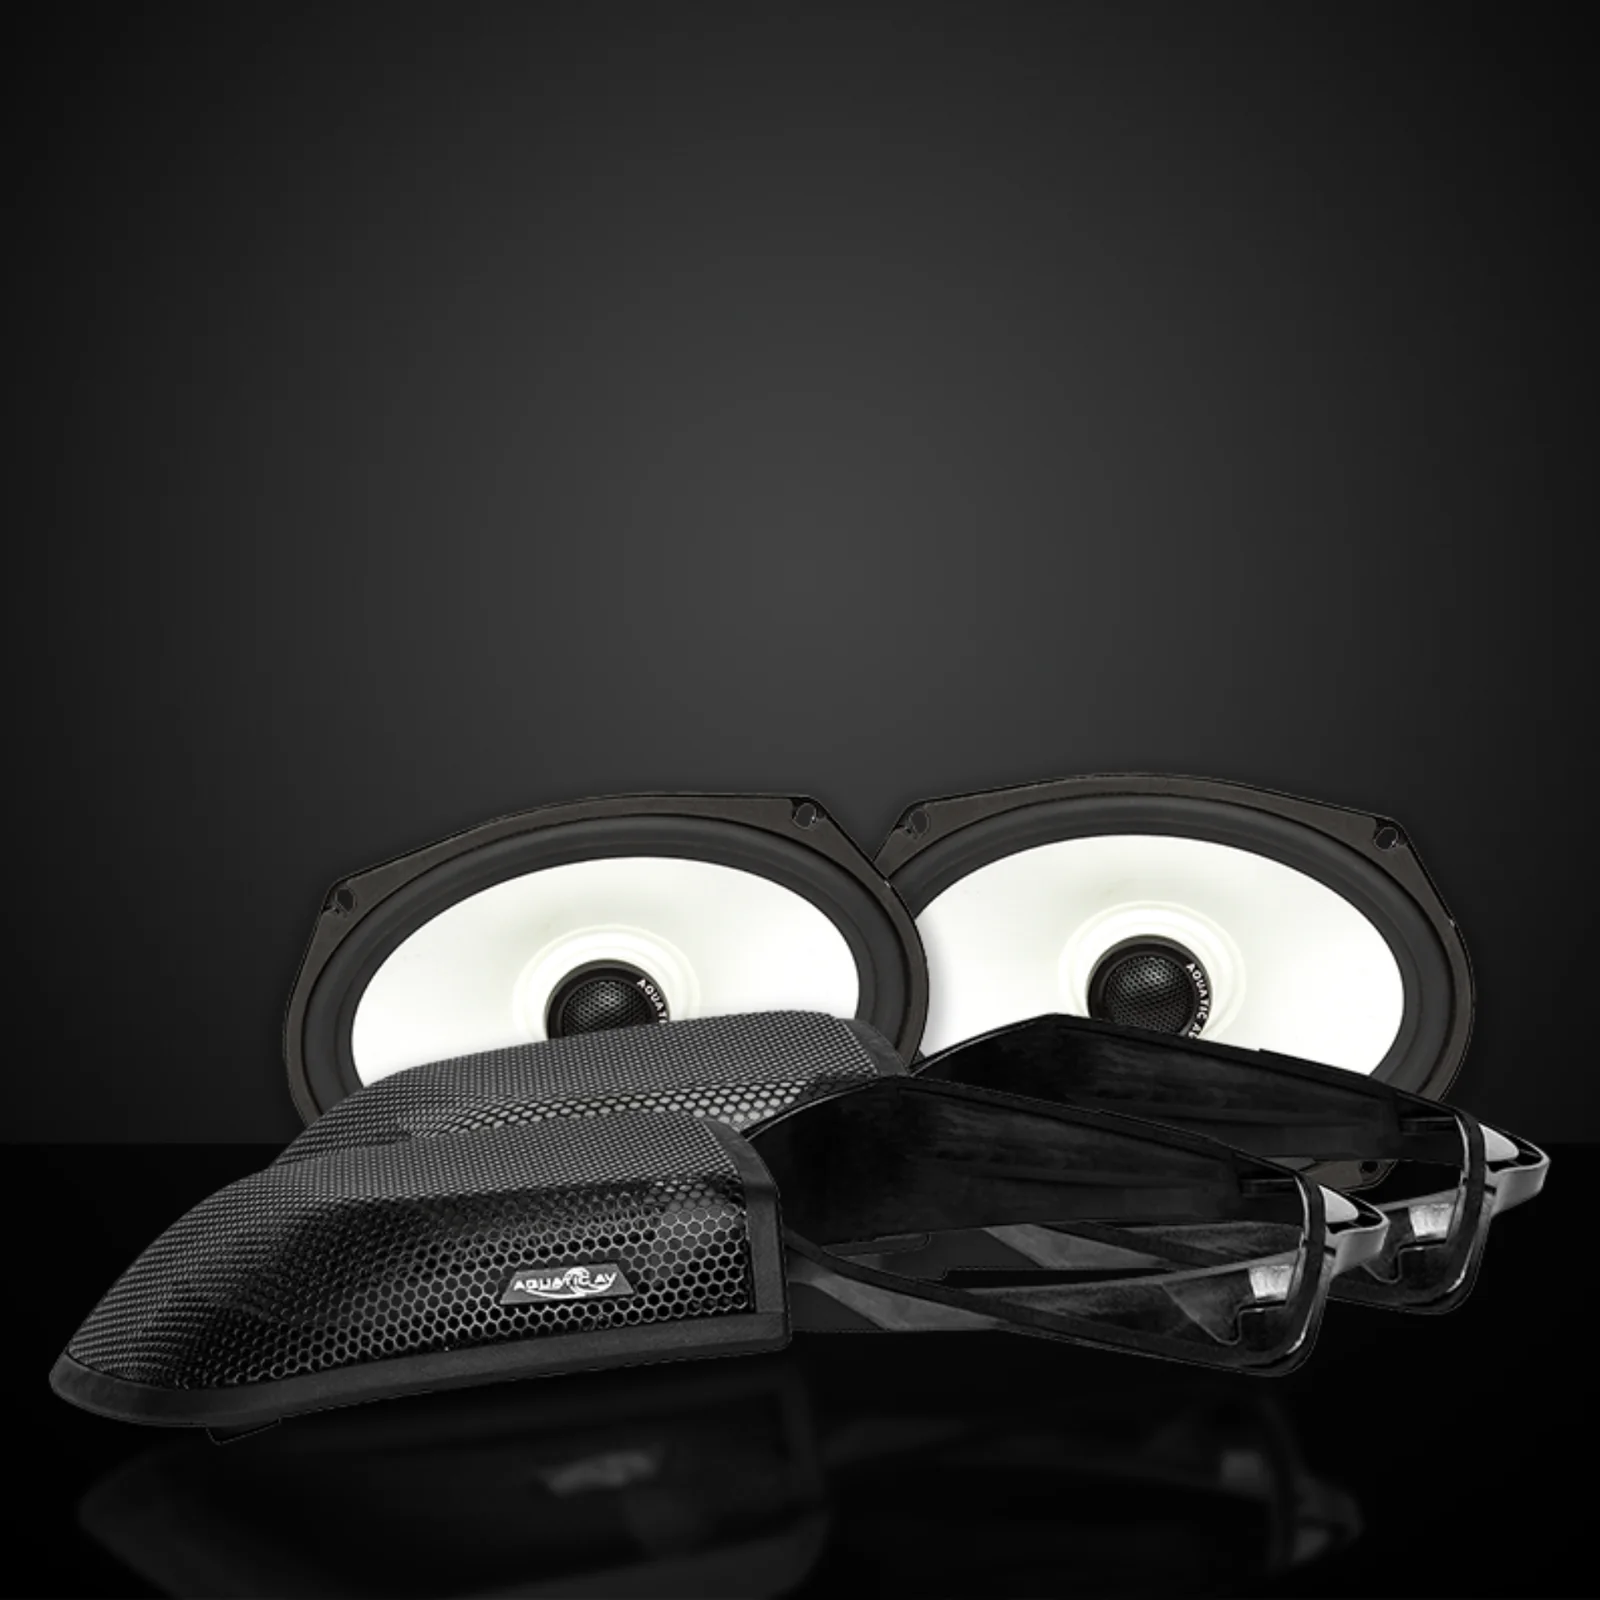
Please read this instruction manual before installation and operation.
1. Disassemble The Bike
- Remove seat, battery cover, gas tank and front fairing to access back of the radio and the amplifier. Disconnect battery for safety. For detailed instructions visit our website and see our video in the Aquatic AV Support Center.
If you are not a certified Harley-Davidson mechanic, consult with a local shop or an authorized dealer.
2. Running Cables To The Amplifier
If you purchased your speakers as part of a Havoc Roar Kit, the leads are terminated with Deutsch DTM waterproof connectors that mate with the connectors on the head unit and amplifier. Simply note left and right, and plug them in. You're done.
- Run the cable through the cable channel underneath the gas tank.
- Connect the 4 PIN plug directly to the AD500.4 Four-Channel Amplifier (AD504). If using a third party amplifier, you will need to purchase the Universal Male RGB and Female Speaker Adapter Kit (CB112) to connect directly to the third party amplifier.
- Reattach the wiring cover to keep cables tidy during the rest of the installation process.
| Pin | Function | Wire Colour |
|---|---|---|
| #4 | L- | Green w/Black Stripe |
| #3 | R- | Purple w/Black Stripe |
| #2 | L+ | Green |
| #1 | R+ | Purple |
Universal Male RGB and Female Speaker Adapter Kit (CB112) (sold separately): 4 PIN Speaker Connector connects to amplifier; 4 PIN RGB Connector connects to RGB controller; 2 PIN Speaker Connector connects to speakers; 4 PIN Speaker Connector connects to speaker RGB.
*Cutting any of the wires will void your product warranty.
If using the Aquatic AV® RGB Controller (RG100), connect the round DIN plug directly to the controller. Follow controller instructions to wire the controller correctly.
3. Removing Saddlebag Lid
- Run the cable through the cable channel underneath the gas tank.
- Connect the 4 PIN plug directly to the AD500.4 Four-Channel Amplifier (AD504). If using a third party amplifier, you will need to purchase the Universal Male RGB and Female Speaker Adapter Kit (CB112) to connect directly to the third party amplifier.
- Reattach the wiring cover to keep cables tidy during the rest of the installation process.
4. Using The Cutout Template
- Use masking tape to cover the saddlebag lid.
- Fit and screw down the cut out template using the 2x screws provided (A).
- Drill holes in the spaces provided (B).
- Cut using a jig saw along the spaces provided (C) before finally sawing through the tabs.
NOTE: Brake and clutch grills are not interchangeable. Please see grill labeling before installing.
5. Install Grill And Mounting Plate Onto Saddlebag Lid
- Place the grill on the outside of the saddlebag lid.
- While holding the grill and saddlebag lid together, flip both over. Then place the mounting plate on the inside of the saddlebag lid.
- Using the 4 screws provided, screw the mounting plate to the grill while squeezing the saddlebag lid between the two.
6. Reattach Lid To Saddlebag
- Reattach the saddlebag lid to the saddlebag assembly.
7. Install 6x9 Speaker
- Mount the speaker to the mounting plate using the 4 screws provided.
- Ensure the speaker cables are running towards the rear of the motorcycle behind the lid tether. This will allow proper routing to the hole in the saddlebag.
8. Drill Saddlebag For Cables
- Remove the saddlebag and lay it down on a non-abrasive and sturdy flat surface. This is needed to prevent scratches on your saddlebag.
- Use masking tape to cover the area of the saddlebag where the hole will be drilled.
- Mark a line on the masking tape which is 1.5" from the side edge of the saddle bag and 1.75" from the lower edge of the saddlebag.
- Mark an intersecting point where you will drill a 0.75" hole into the saddlebag.
WARNING: Be mindful of moving parts when running the wires to the saddlebags.
9. Reattach Saddlebag To The Motorcycle
- Run the speaker cable through the hole drilled in the saddlebag.
- Before affixing the saddle bag, MAKE SURE TO RUN the cables into the saddlebag. Pull the cable firmly until it is snug, secure, and the grommet is fixed into the hole.
- Using the included cable ties and cable tie mounts route the speaker cable along the inner wall of the saddlebag down to the hole drilled in section 8 above.
NOTE: Make sure to clean surface before affixing double-sided tape.
10. Tuning The Audio System
- Adjust gain and cross over points to best tune the system to the customer's preference.
If using a stock head unit, the customer may need to have the system flashed by an authorized dealer.
11. Reassemble The Bike
- Reassemble the seat, battery cover, gas tank and front fairing to the bike.
Accessories
Universal Male RGB And Female Speaker Adapter Kit (CB112)
- Get this kit to use our RGB speaker connector that allows to to connect our RGB speakers with most RGB controllers that have red, blue, and green wires. Also included is our 4 PIN Speaker Wire Adapter that allows you to connect to any standard speaker wires.
6x9 Harley Speaker Connector
- Use this adapter (included for each speaker) to connect non Aquatic AV® wiring with our speaker without removing the Aquatic AV® speaker connector and maintain your product warranty.
AD500.4 4/3/2 Channel Amplifier (AD504)
- Our new four channel amplifier can be mounted directly onto the Aquatic AV® Harley Davidson mounting plates. Compatible with The Batwing Amp Kit 2014+ (BT114) and The Road Glide Amp Kit 2015+ (GL114).
The Aquatic AV® RGB Controller (RG100)
- Make your saddlebag 6x9" speakers shine brighter when you connect our RGB controller! It features a total power of 5A and is compatible with the Aquatic AV® Mobile App.
The Aquatic AV® Mobile App
- Customize the colors of your Aquatic AV® devices with our app! Download the Aquatic AV® app for your device.
Caution
The saddlebag material may flex with installation, resulting in small gaps where potential water leaks could occur. We recommend putting a bead of silicon or other material around the mounting plate to fill this gap, thereby offering a better protection for any items in your saddlebag. Aquatic AV® does not guarantee the absence of or warranty any leaks caused by installation.