
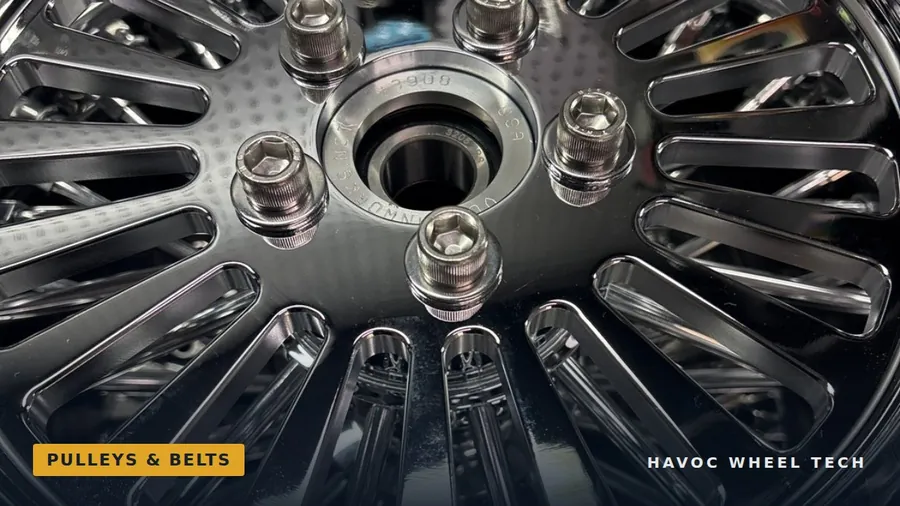
The rear pulley bolts transmit every bit of the engine's torque to the rear wheel: from the belt, through the pulley, through the bolts and into the hub, multiplied through the gearing in the lower gears. On many wheels, including our billet wheels, those bolts thread into blind holes in an aluminum hub. That combination of high load, aluminum threads and a hole with a bottom is why pulley installation deserves special care.
Why bolt length is critical
A blind hole is a threaded hole that does not pass through the part. It has a bottom. That creates two ways to get bolt length wrong, and both are serious.
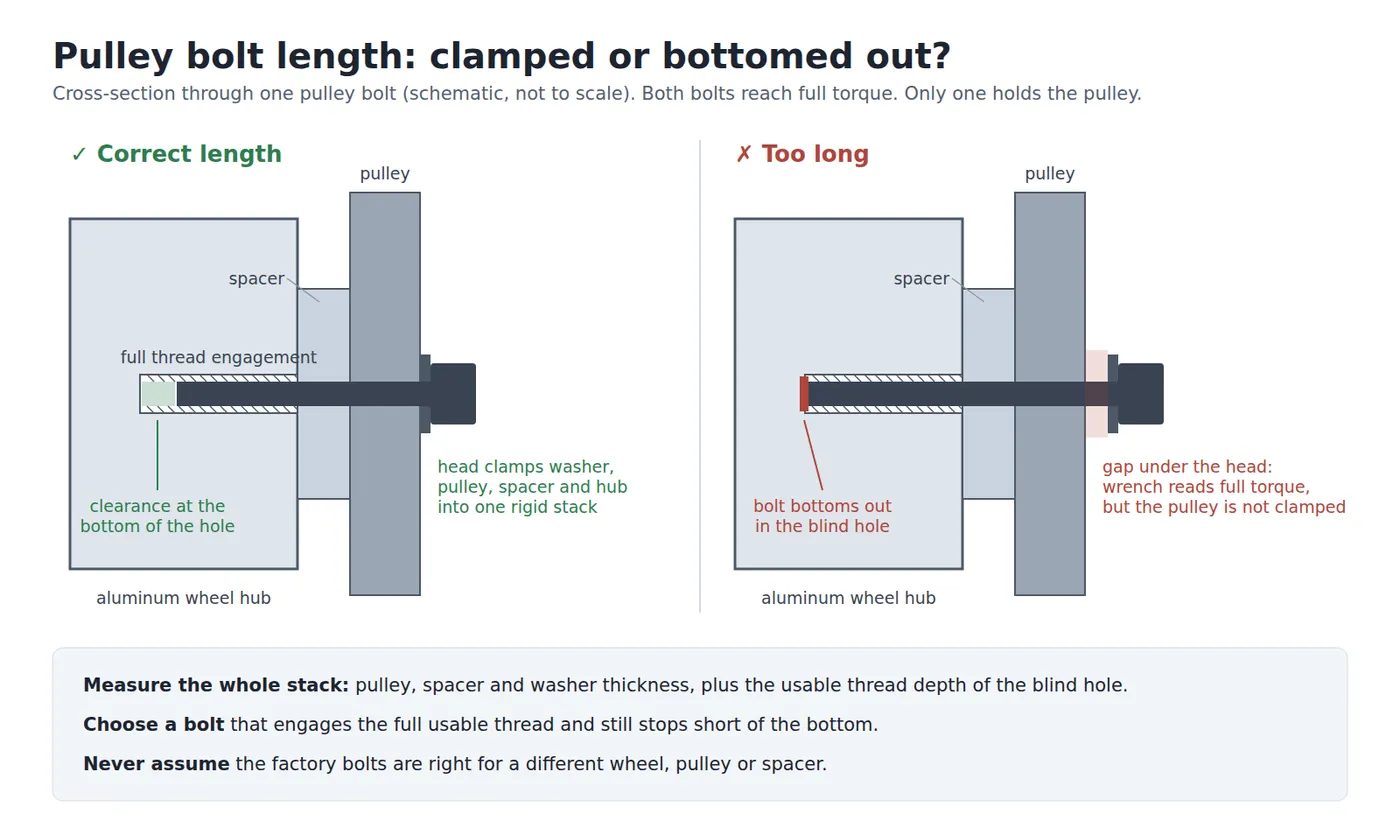
Too short , and the bolt engages too few threads. The load is carried by a handful of thread turns in relatively soft aluminum, and those threads can pull out or strip under torque or in service. A common engineering guideline is that a steel bolt threaded into aluminum should engage at least about twice its own diameter of thread; for a 7/16-inch bolt, that is roughly 7/8 inch of full thread.
Too long , and the bolt bottoms out in the hole before the pulley is clamped. This is the more dangerous error, because it can look correct. The torque wrench clicks at 65 lb-ft, but the torque is being spent pushing the end of the bolt against the bottom of the hole, not clamping the pulley to the hub. The pulley is effectively loose. Under load it can shift, the bolts are subjected to bending and shear they were never meant to carry, and the result can be broken bolts, damaged threads or a damaged hub.
Never assume the stock bolts are correct
Do not assume that the bolts supplied with, or used on, your original wheel are the correct length for an aftermarket wheel. Aftermarket wheels can have different hub dimensions and internal construction, requiring a blind hole of a different depth. Some wheels have tapered or partially tapped holes, in which the usable depth of full thread is less than the apparent depth of the hole. And any pulley spacer, or a pulley of a different thickness, changes the length required.
Always check fitment with the complete assembly
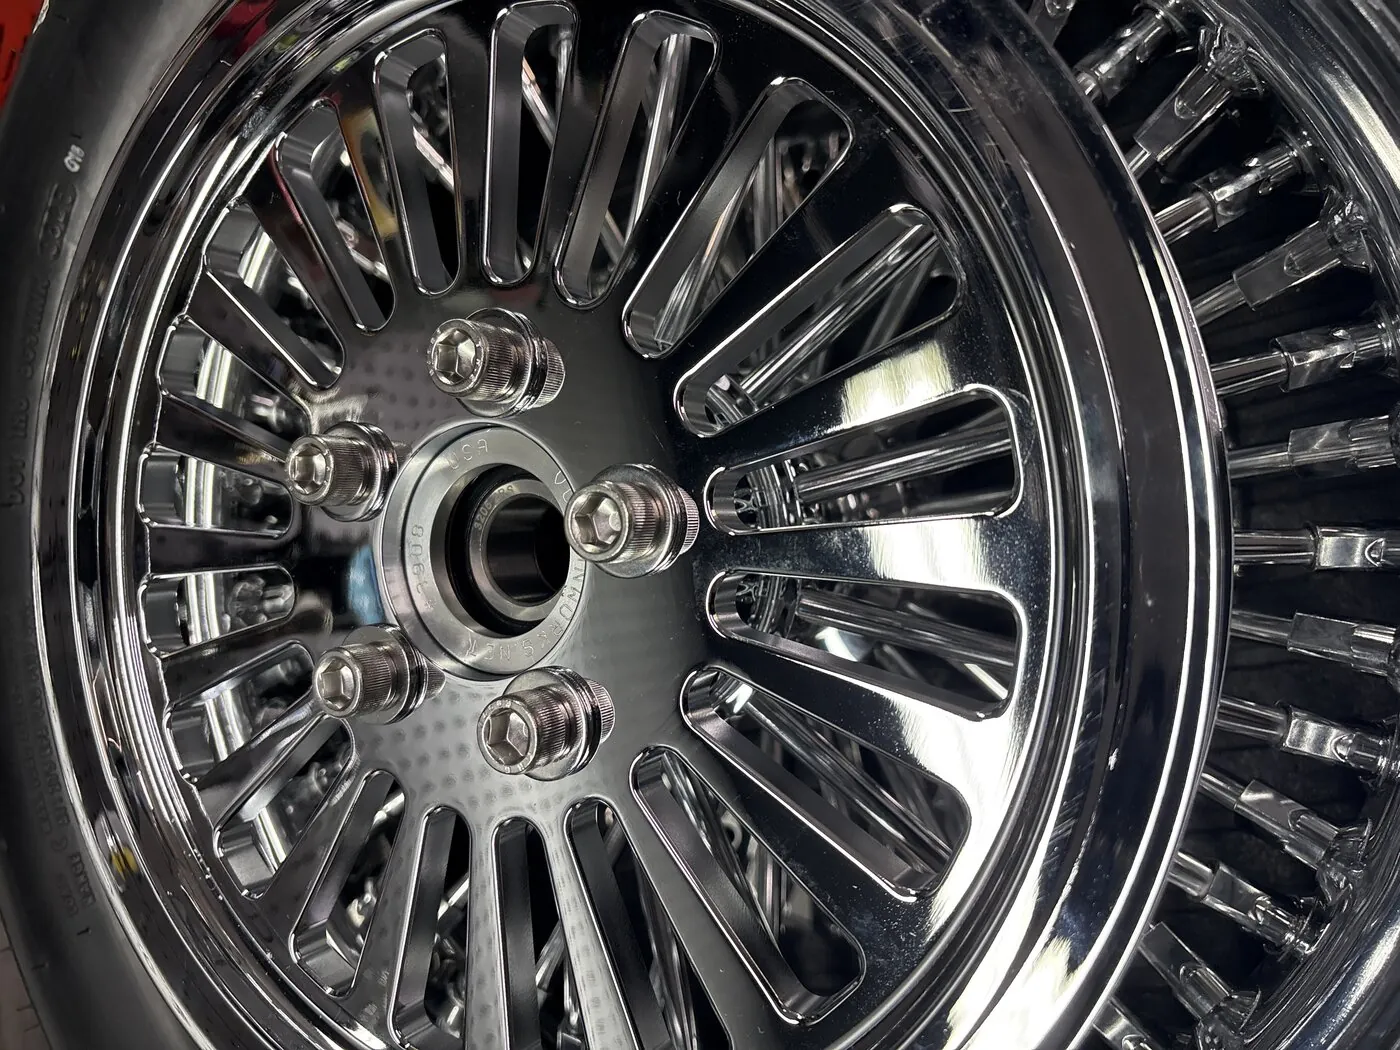
Because the hole is blind, the only reliable way to determine bolt length is to measure the complete stack, exactly as it will be assembled. It is useful, when installing the components, to take a pad and pen, and record:
| Measurement | What it is |
|---|---|
| Pulley spacer | Thickness of the spacer, if one is used |
| Pulley thickness | Thickness of the pulley at the bolt holes |
| Washer thickness | Thickness of the washer under each bolt head |
| Total stack | Sum of the above: the distance from bolt head to hub face |
| Blind hole depth | Depth of the threaded hole in the hub |
| Less taper | Any unthreaded or tapered portion at the bottom of the hole |
| Required bolt length | Total stack plus usable thread depth, less a safety clearance |
The required bolt length is the one that gives the greatest possible thread engagement without the end of the bolt reaching the bottom of the usable thread. Measure with a caliper or micrometer, not a tape. When our wheel packages ship with pulley bolts, as our Complete Fat Spoke Packages often do, every stack is individually checked on the bench. The supplied bolt length has been selected and verified for that complete stack as shipped: not a theoretical number, and not the number used on the last one. Do not substitute longer bolts.
No impact tools
Do not use impact drivers, impact wrenches or air tools on the pulley bolts — not to start them, not to run them down, and not to tighten them. The hub has aluminum threads, which can be damaged by excessive or impact loading long before anything feels wrong.
- Start every bolt by hand.
- Use a calibrated torque wrench for final tightening.
- Verify bolt length and thread engagement before final installation.
- If you feel resistance before the pulley is fully seated, stop and find out why. Do not force the fastener.
Recommended installation procedure
- Assemble the hub, spacer and pulley, and check the fit. Manufacturing tolerances and plating thickness can vary slightly. If the pulley, spacer or hub flange is tight, clearance it as required so the pulley seats flush and spins freely on the locating diameter. If, instead, there is a small gap between the pulley bore and the locating ring on the spacer or hub, center the pulley before tightening: use a wire feeler gauge around the circumference to check the gap and gently reposition the pulley until the clearance is as even as possible all the way around.
- Apply red, high-strength threadlocker to the bolt threads. We use Loctite 263, which is primerless and cures reliably on stainless steel and aluminum without an activator (see Harley Wheel Fastener Guide: Sizes, Torque and Threadlocker). Threads must be clean and dry.
- Start all bolts by hand. Each should start freely and run in without resistance.
- Snug the bolts lightly and confirm the pulley seats flush. Before applying any real torque, verify that the pulley is fully seated and that no bolt is bottoming out.
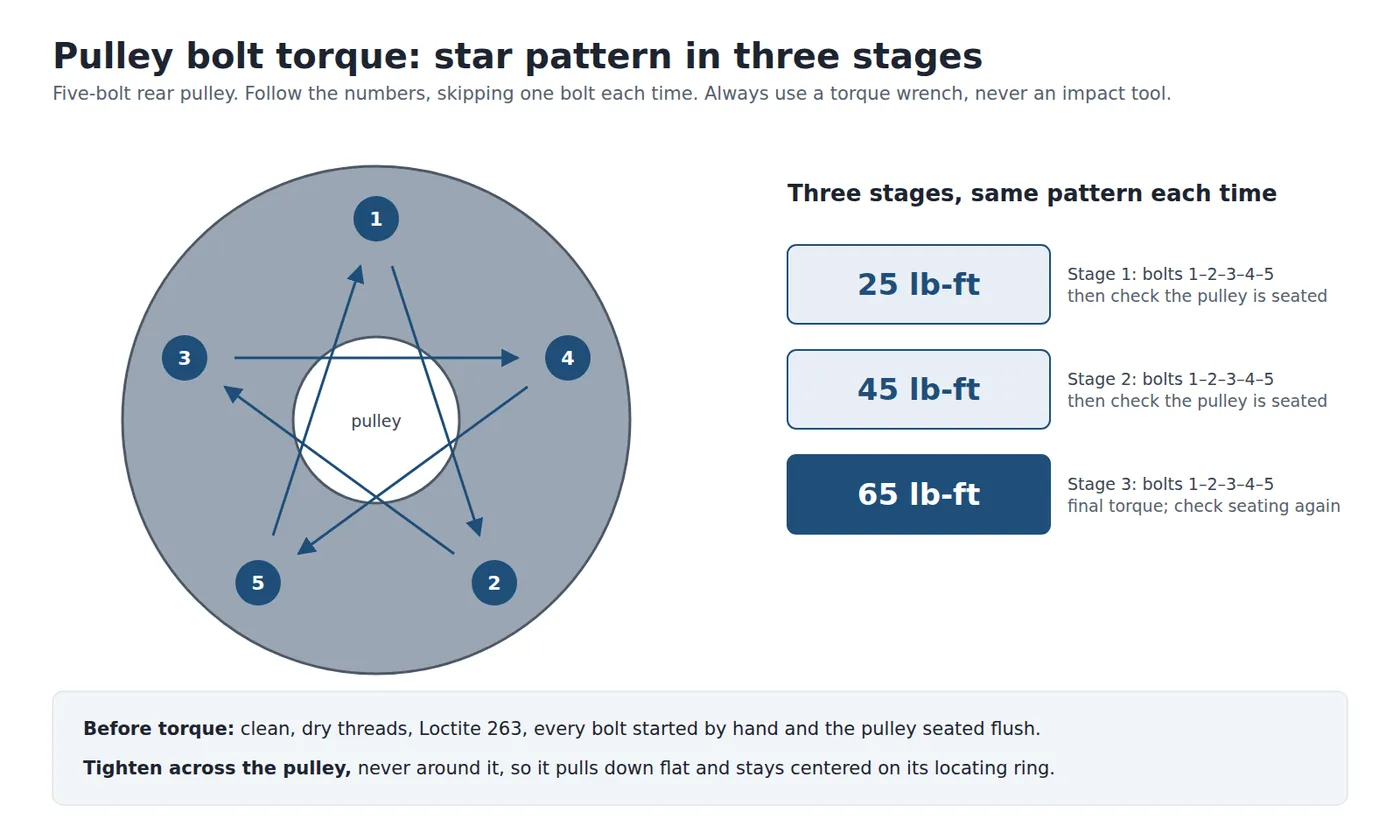
- Torque the bolts to 65 lb-ft in three stages, using an alternating star pattern: first to 25 lb-ft, then to 45 lb-ft, then to 65 lb-ft. After each stage, confirm that the pulley is still fully seated and centered.
The star pattern and staged torque pull the pulley down evenly, keeping it flat against its mounting face and centered on its locating ring. Tightening one bolt fully before the others can cock the pulley slightly, and a cocked pulley will never be clamped evenly.
Stop if something does not feel right
If you feel resistance before the pulley is fully seated, stop immediately and contact us before proceeding. Do not try to force the bolt, and never try to compensate for incorrect bolt length by applying more torque. More torque on a bottomed bolt does not clamp the pulley; it only damages the threads.
Damage resulting from incorrect bolt length, improper thread engagement, bolts bottoming out or the use of impact tools is not covered under warranty. Following this procedure protects the hub threads, ensures the pulley is properly clamped, and gives you a drive system that will stay tight for the life of the wheel.